So Ella had this lamp when she had her own girly girl room.

But when we moved, the shade broke. It was way too girly for Peyton and Ella's new shared room anyway.
Poor Peyton already has to deal with Giant Dollhouse:

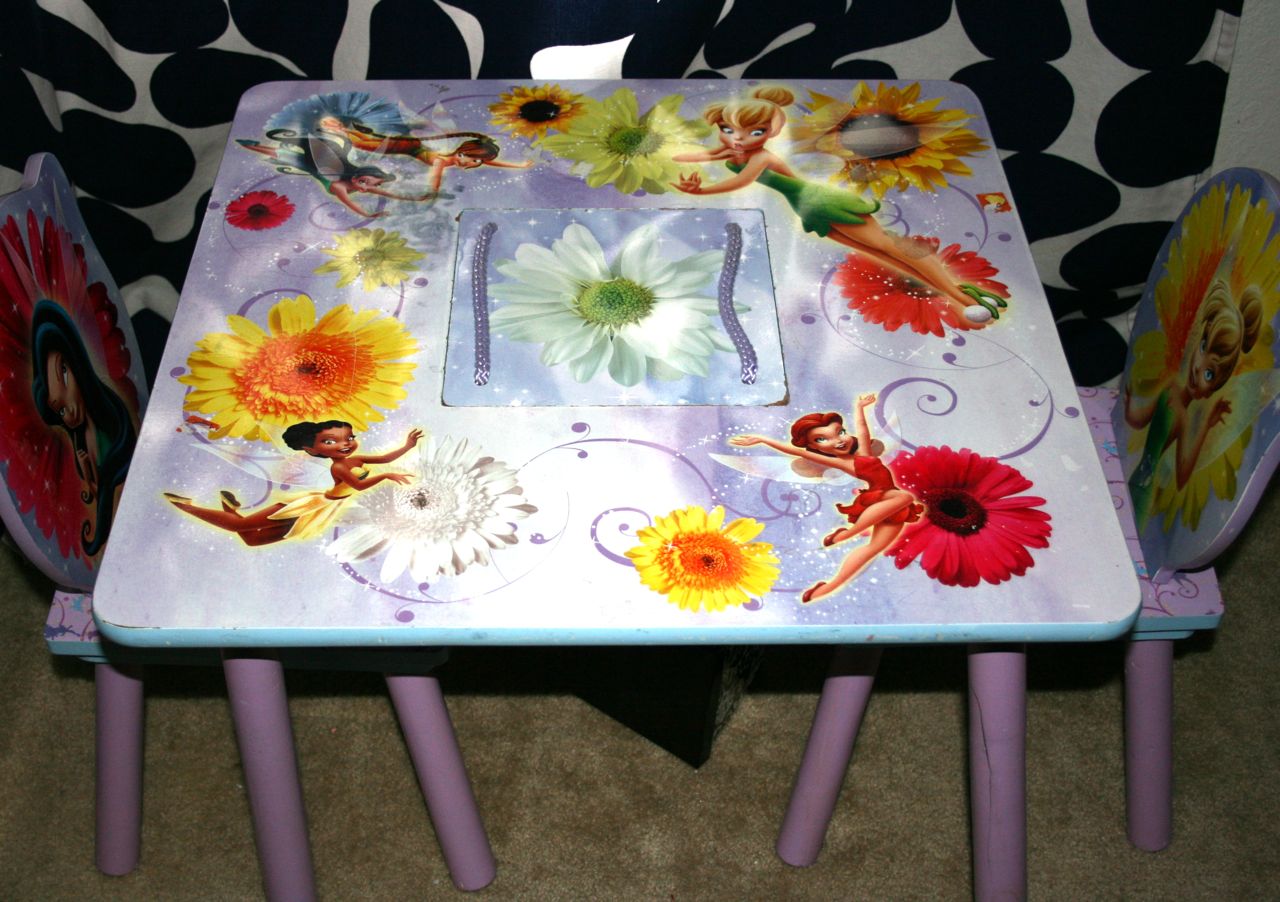
Tinker Bell Table:
And the huge beautiful wall hanging that Ali made for Ella before she was even born:

And those are just a few of my favorite girly things in their room. There are a lot more. There are a lot of boy things, too. It's just that those things seem not to be so massive. Honestly though, it doesn't bother Peyton at all. The kid is cool like that.
Back to the lamp!
I found this DIY lampshade on clearance at Joann Fabrics for $2. It has this removable template that you can pull off to measure your fabric. And underneath the template the shade has been pre-adhesived. The template and the adhesive are handy, but they're not anything I couldn't have done myself. It was the $2 price tag that got me.
I wanted to make the new shade gender neutral-ish, so I ended up choosing burlap because I knew it would give the lamp a clean, fresh look.
Here's the template the shade came with:

Did you know that you can grab onto one thread of burlap and pull it all the way out to make yourself a To Cut line? I just learned that neat little trick so now I feel super smart.

I cut around the template, leaving myself plenty of extra room because I'm craft-accident-prone.

I wrapped the burlap around the shade. I told you that mine was already pre-adhesived (I can make pretty much any word into a verb because I'm awesome like that), but I'm sure you could use spray adhesive or fabric glue, or even your trusty glue gun to get it to stick.

Then I trimmed my burlap a bit more to make it all nice and neat.

Then I used my glue gun to burn myself repeatedly while I wrapped the burlap around the edges of the shade. Because burlap has lots and lots of holes. Yay.

It was worth it.

I didn't want the inside to look unfinished, especial since burlap is the master of fraying. So I lined the inside edge with some extra twine I had left over from my kitchen memo board.

Look how neat!

Then I glue gunned on some ribbon. Since it is a boy/girl room, I chose colors that I knew Peyton and Ella would both like.
I worked really hard to get the ribbon to not ripple. It was an impossible task, but I'm okay with how it turned out.
I really love it.


Here it is in their room with the dinosaurs I painted for Peyton a while back:

It lets a lot of light through, too!

And Peyton and Ella love it! They really like it when I make things for them. I think it makes their world feel a little more special and loved.
How long do you think the top of that dresser will stay that neat? My guess is about 30 tiny minutes.


